Hair how-to: The braided bun tutorial with Diipa Khosla
Why have a basic bun when you could rock a braided bun at the gym? Upgrade your go-to 'do and learn how to make a braided bun now.
You Will Need
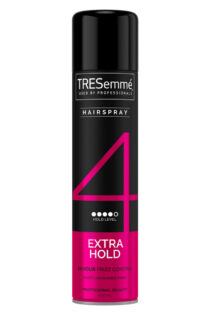
TRESemmé Extra Hold Hairspray
Braids in a bun are great for keeping your tresses well out of your way while you hit the gym but is also pretty enough to be worn to a casual outing or formal dinner.
If you’ve found yourself stuck in a hair rut and are on the hunt for a practical hairstyle that’s runway and red carpet approved, let us introduce you to your new best friend: the braided top knot.
You may have seen this beauty gracing the recent Dior catwalk or on the likes of Shay Mitchell, and thought it’s too tricky to master. But trust us, it isn’t! And, as part of our mission to #BeatHairBoredom with E!, we’ve enlisted the help of blogger Diipa Khosla to create a quick step-by-step tutorial, so you can learn to nail the braided bun look at home.
So, get ready, because we’re going to show you how to make braids with buns look beautiful!
Braids into a bun?

Now, we know what you’re thinking: ‘braids with bun’? In one hairstyle? It’s far too complicated to create at home without a team of professionals!
But your fears are totally unfounded because working braids into a bun is an easy way to add interest to your basic top knot. And did we mention that this braided bun can be achieved in the 5 simple steps?
How to make a braided bun
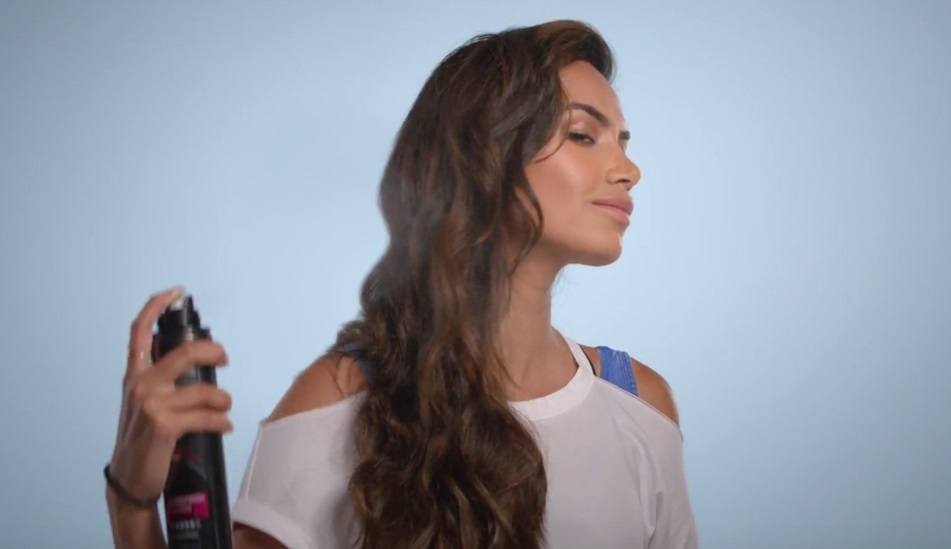
Use hairspray.
Before you create your gorgeous braided bun, you’ll need to mist your locks with the TRESemmé Extra Hold Hairspray.
This nifty trick will help smooth out flyaways, give your locks a quick texture boost (the perfect base for braiding!) and also keep everything in place. Neat, right?
Section your hair.
Now section your hair in half horizontally and clip the top section out of the way for now (we’ll come back to it later!).
Then, use your fingertips to section the bottom layer of your hair (near the nape of your neck) into a rough triangular shape. This should be around 2-inches wide.
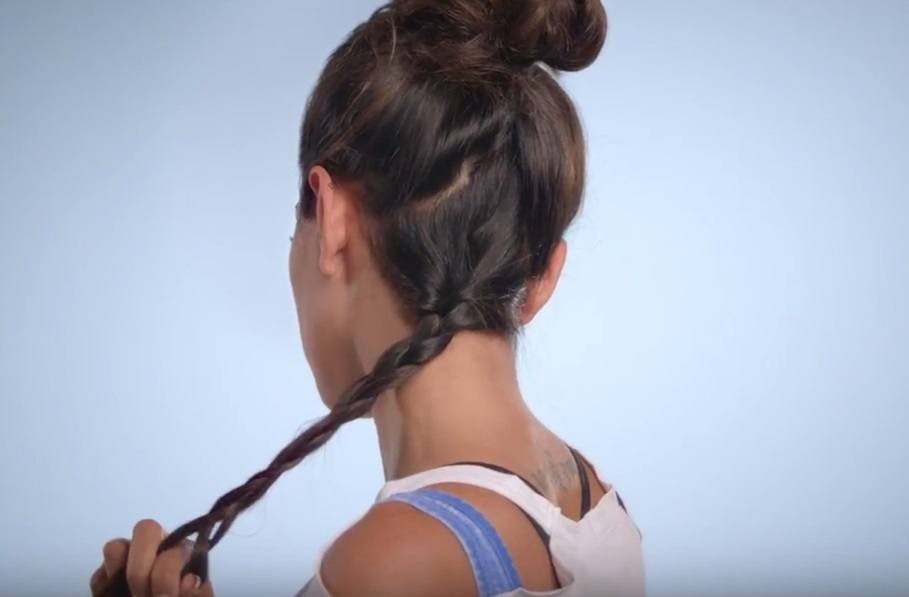
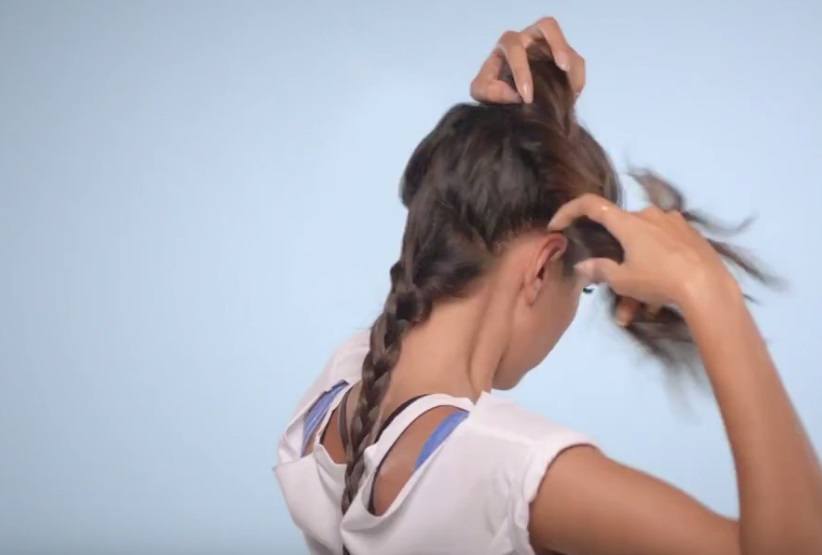
Divide and braid.
Now it’s time to start your braid! Take a 2-inch wide section of hair near the nape of your neck, and divide it into 3 equal sections.
Weave these sections (left over middle, right over middle) to create a traditional three-strand plait. Then secure the end of your braid with a hairband.
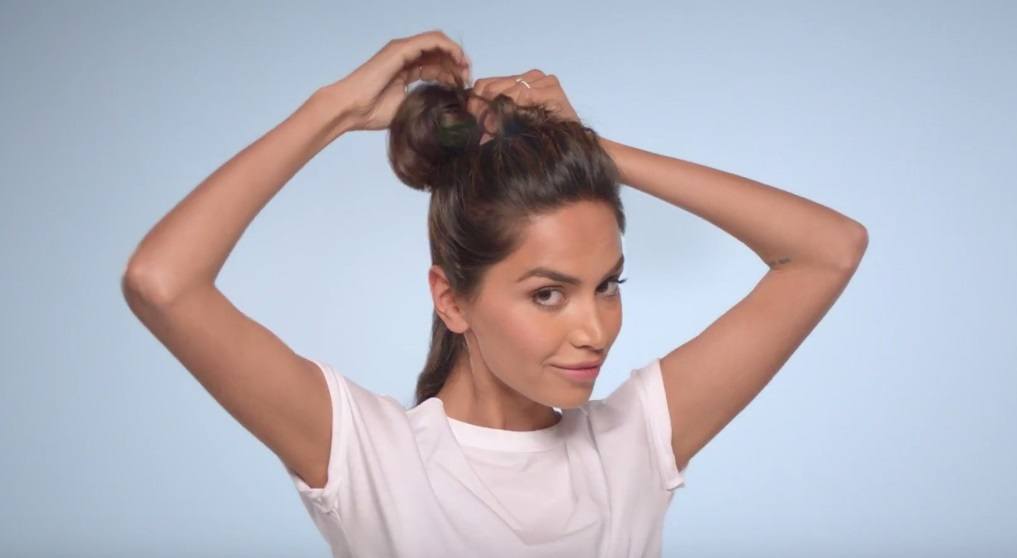
Create your bun.
Remember the top section we told you to keep a hold of? It’s time to turn it into a high ponytail and tie it with a hairband.
Then create a pretty bun with your ponytail by twisting the end of your ponytail and wrapping it around itself. Secure it in place with a few bobby pins.
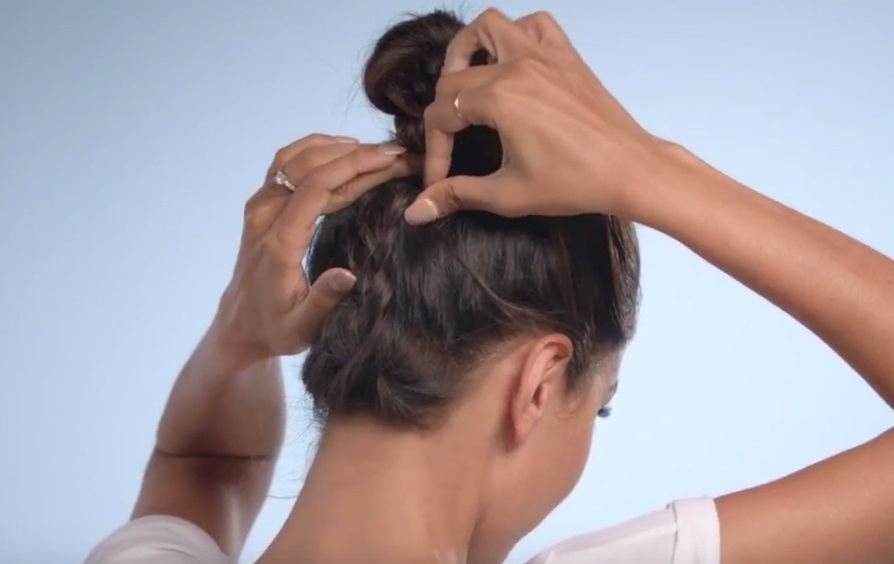
Pin your braid.
Now it’s time to focus on your braid! Lift it up and use pins to hold it in place. Then simply wrap it around the base of your top knot and secure with some bobby pins.
To make your braided bun a full-time masterpiece, give it another dose of hairspray to seal the look in place.
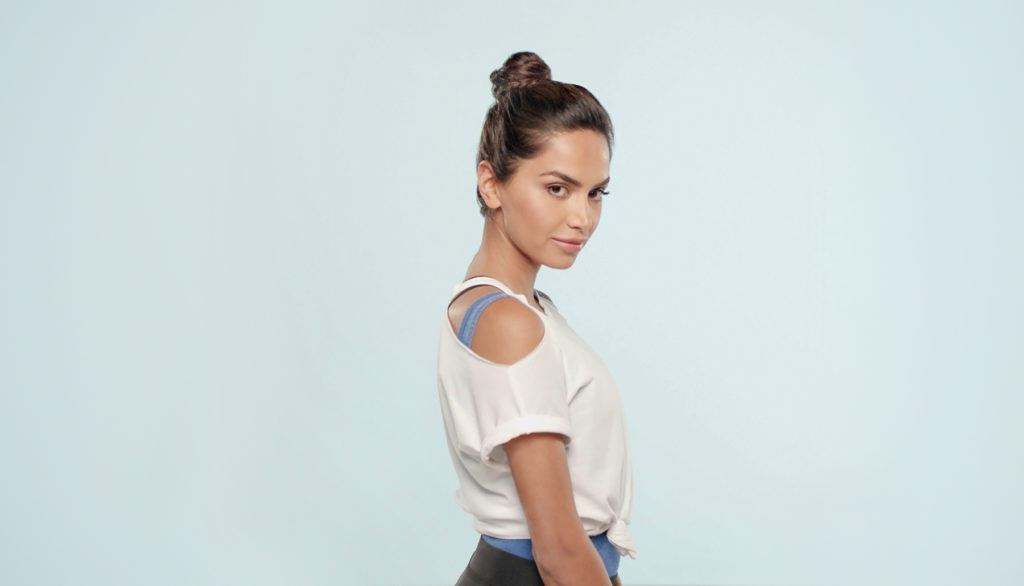
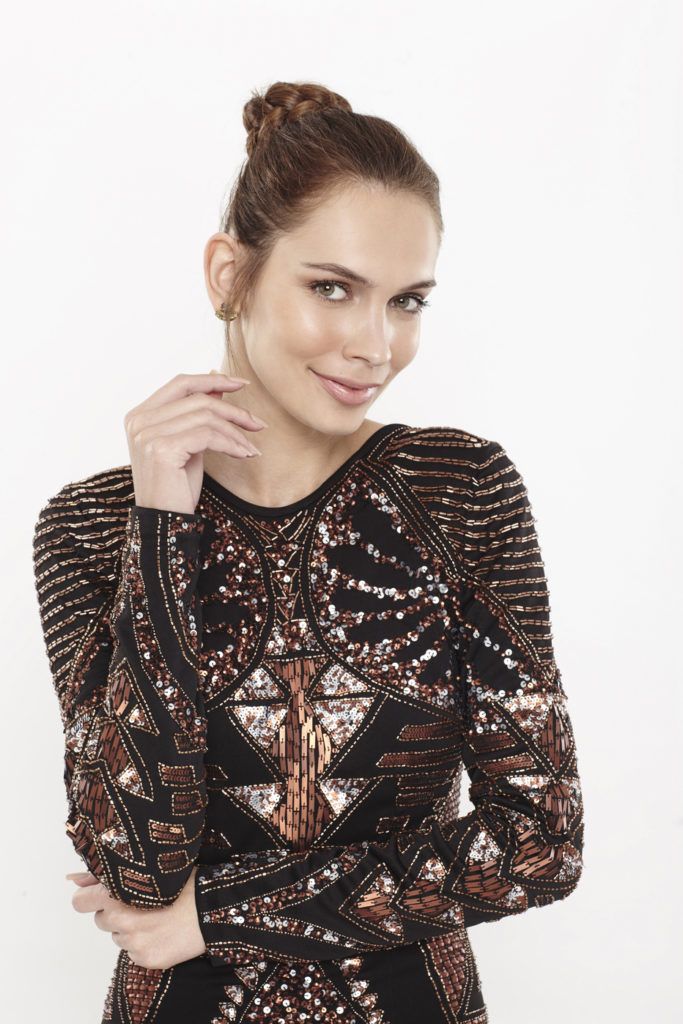
Final look!
And there you have it: a star-worthy braided bun hairstyle that’ll make all your friends green with hair envy and endure any workout!
The foolproof bun

Want a simple hairstyle that’ll take you seamlessly from gym to office, and even out to dinner? Then look no further than this foolproof braided bun: a modern, feminine take on the casual top knot.
High in impact, yet super easy to create, it’s no wonder this plaited updo has become the go-to hairstyle for many here at the All Things Hair HQ.
How to create the foolproof bun
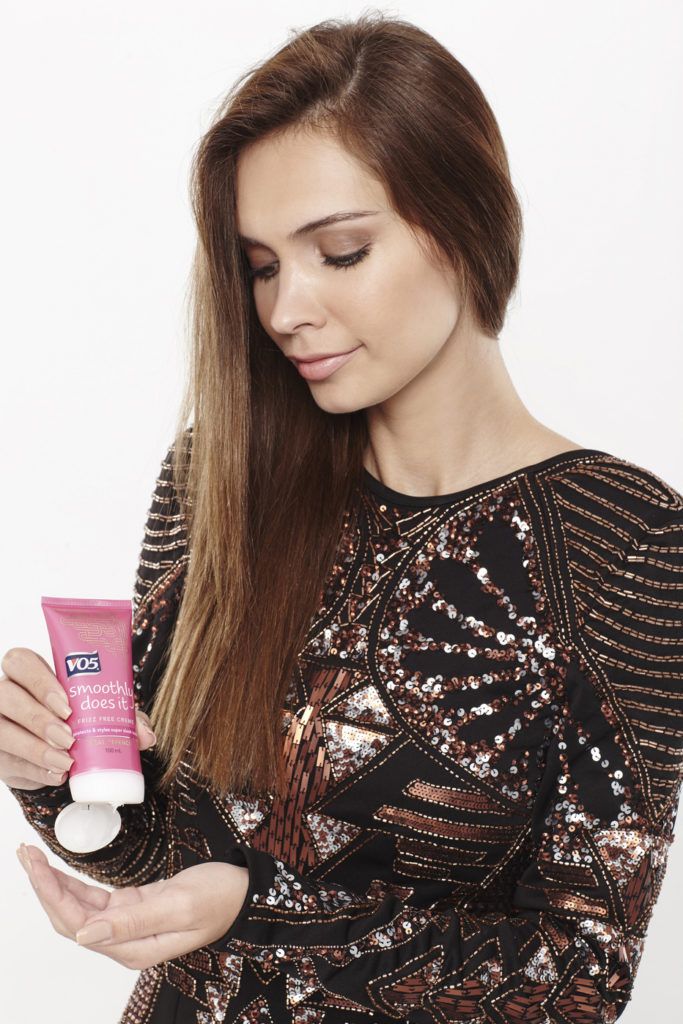
Apply a frizz free cream.
Before you start your braided bun, it’s important to banish any frizz and flyaways, so apply a generous amount of the VO5 Frizz Free Cream to your locks.
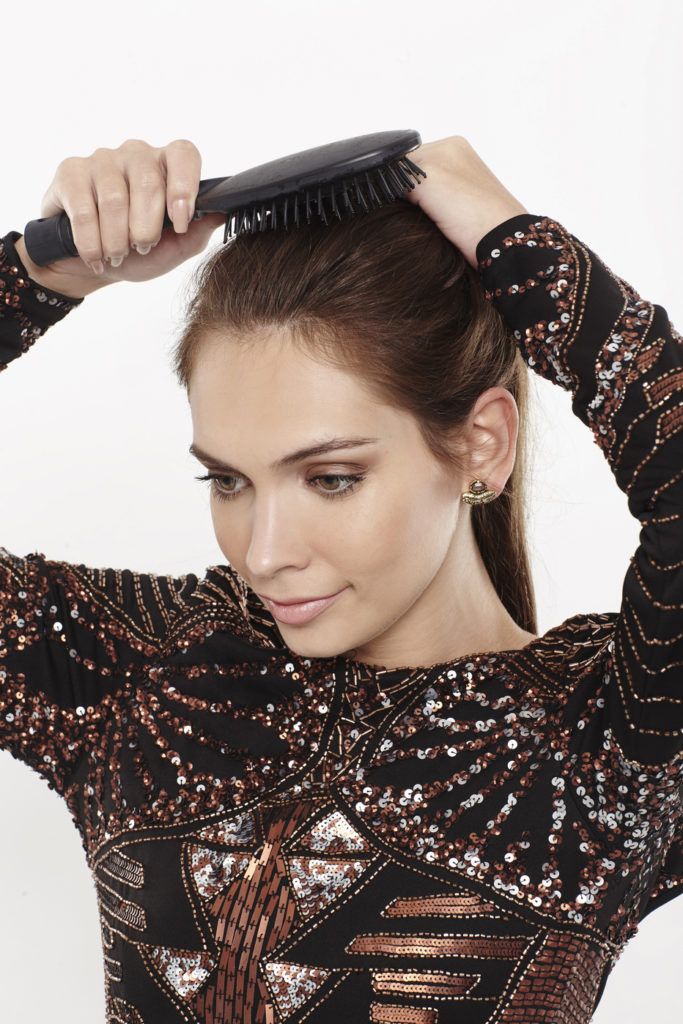
Then to activate the product, use your hairdryer and brush in unison to smooth your tresses.
Create a ponytail.
Gather your tresses into a high ponytail, using your brush to ensure you hair is free of knots and tangles. Once you’ve done this, secure your hair with a ponytail.
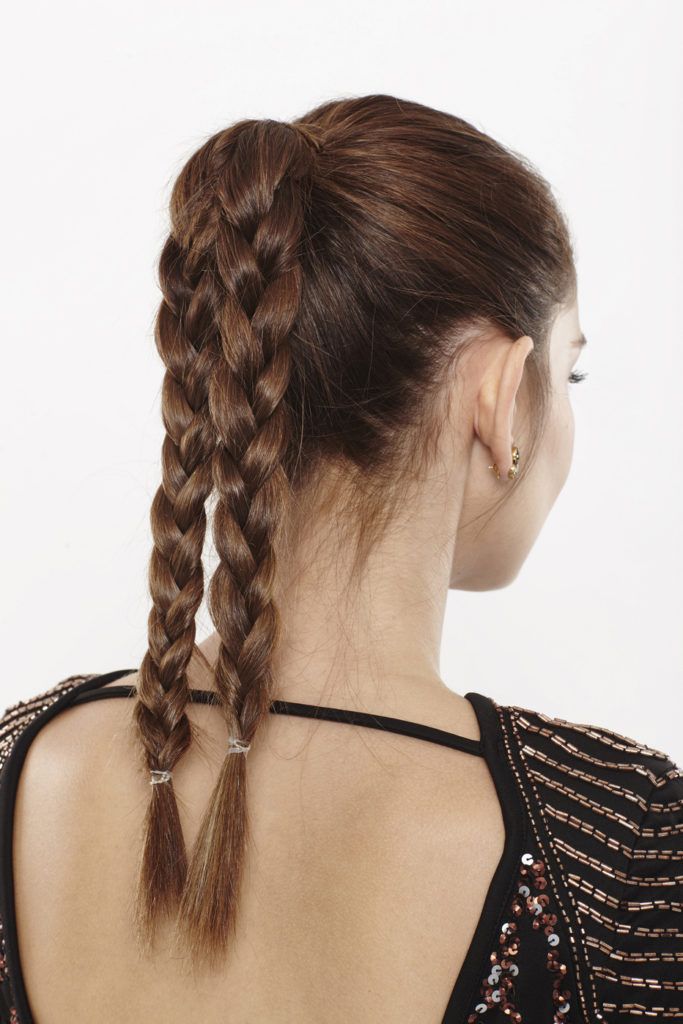
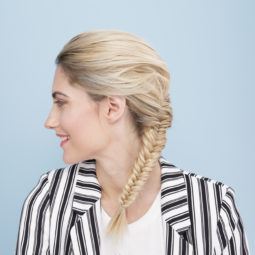
Plait your pony.
Next, weave two 3-strand plaits in your ponytail, braiding the hair all the way down to the bottom. Secure both of your braids with another hairband.
Editor’s tip: If you have thin or fine hair, try teasing your ponytail to help boost texture and grip.
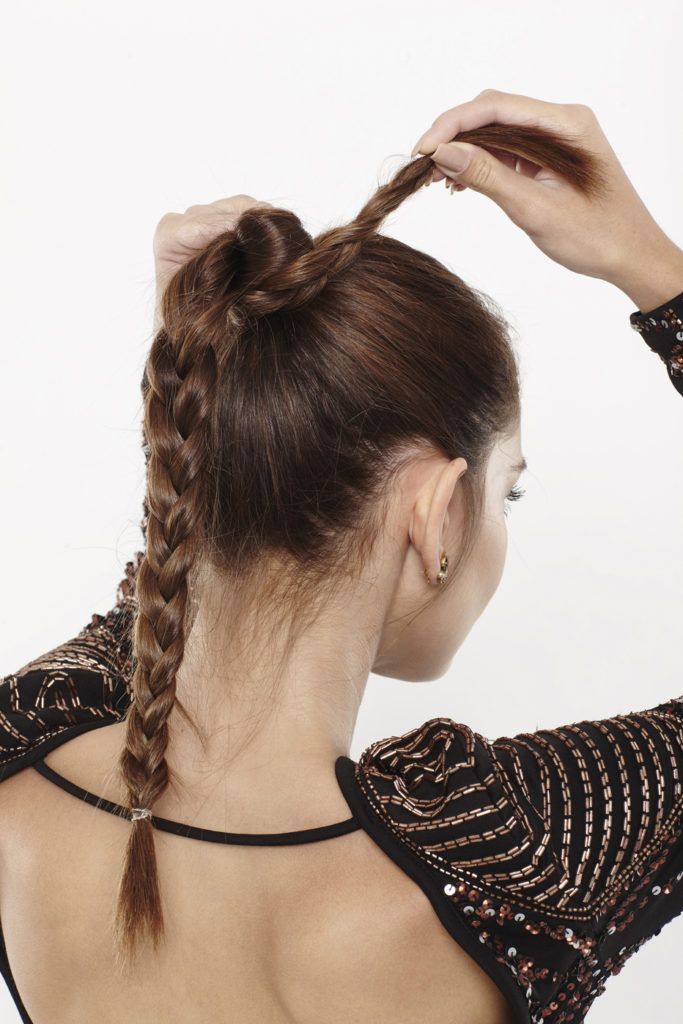
Wrap your first plait.
Now that you have both of your braids, wrap one around the base of your ponytail to form the start of your bun. Use bobby pins to secure it in place.
Wrap the second braid.
Wrap your second braid around the first to create a thicker bun. Secure again with more pins.
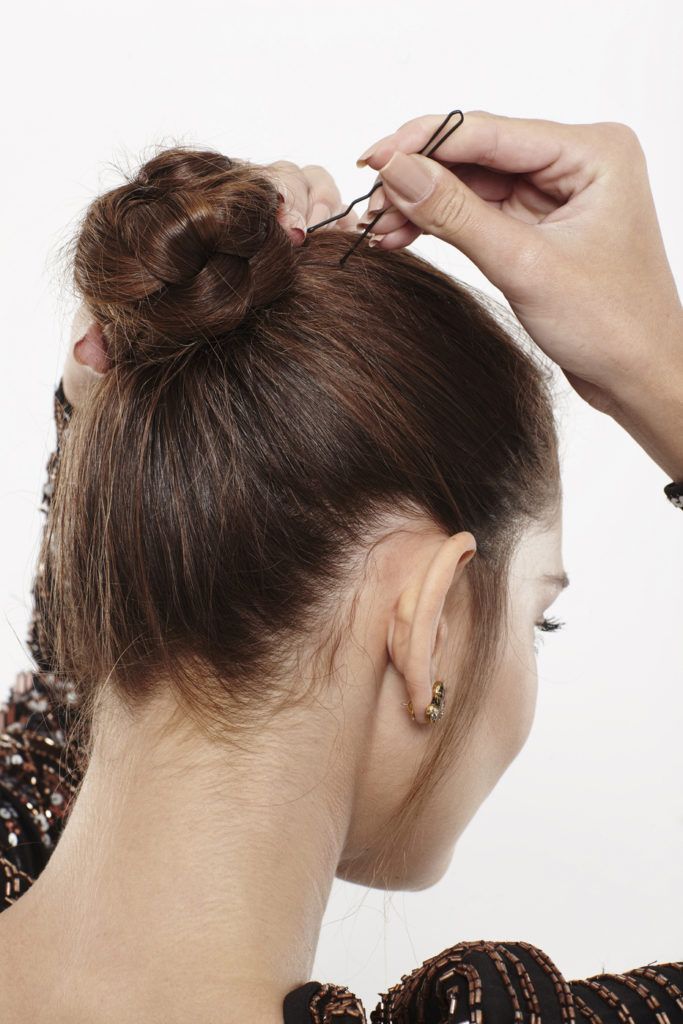
Final look.
Et voila: you’ve just master the basic braided bun in 5 simple steps. Now go forth and rock it for every occasion that comes your way!
How to make a braided bun extra special

Keen to know how to make a braided bun extra special? Why not dress up your braided bun with hair accessories? It’s a great way to add a glam touch to your ‘do. Not to mention, it’s super easy! Finally, place your hair rings in a line up your
We love the idea of upgrading your braided bun with simple hair rings. Just place your hair rings in a line up your French or Dutch braid – and there you have it, your beautiful braided bun is party or festival ready!
Now, just because we’ve come to the end of ‘how to do a braided bun’ hair how-to, doesn’t mean the fun has to stop here! Head over to our Braids page for more easy-to-follow how-tos and hair inspiration to help you beat hair boredom.
You Will Need