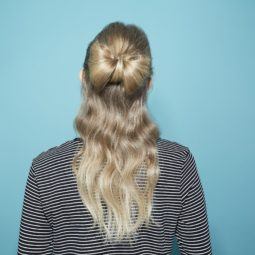
Meet your new favourite updo: The oh-so-chic banana bun
Sadly no, the banana bun doesn't count as one of your five-a-day...

You Will Need

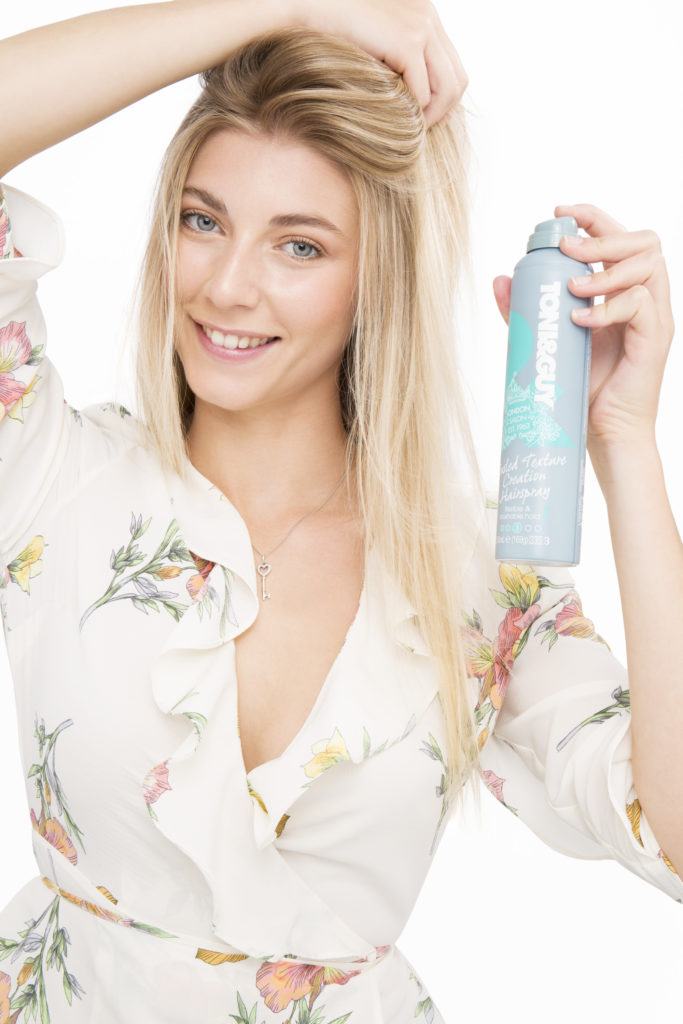
TONI&GUY Tousled Texture Creation Hairspray
If you thought a classic top knot was the most relaxed updo you could master, think again. We’ve found a style that might just give it a run for its money (and, if worn messy, could save you precious minutes in the process). Introducing: the banana bun. Currently one of the most popular hair hashtags on our Insta feed, this low-maintenance look is about to become your favourite pin-and-go hairdo.
If like us, you’re slightly perplexed by its name, the moniker comes from the bun’s elongated shape, almost like a chignon but turned on its side. Serving up a dose of ‘done’ and ‘undone’ vibes in equal measure, the banana bun is a great option for the weekend or at work. Wear it low and loose for a je ne sais quoi French girl twist or, pair this cylindrical style with a centre parting for instant office appeal.
Going bananas for this look already? We thought so. Create it at home with our step-by-step tutorial below and see how you can tailor the bun to your personal styling tastes with our inspiration gallery.
How to do a messy banana bun in 7 steps
Add some texture.
As this style involves a lot of pinning, it’s important to give the hair lots of grip and texture. Plus, texture = messy finish, which will give your hair instant French girl vibes.
Do this by misting the TONI&GUY Tousled Texture Creation Hairspray all over and scrunching sections of the hair with your hands.
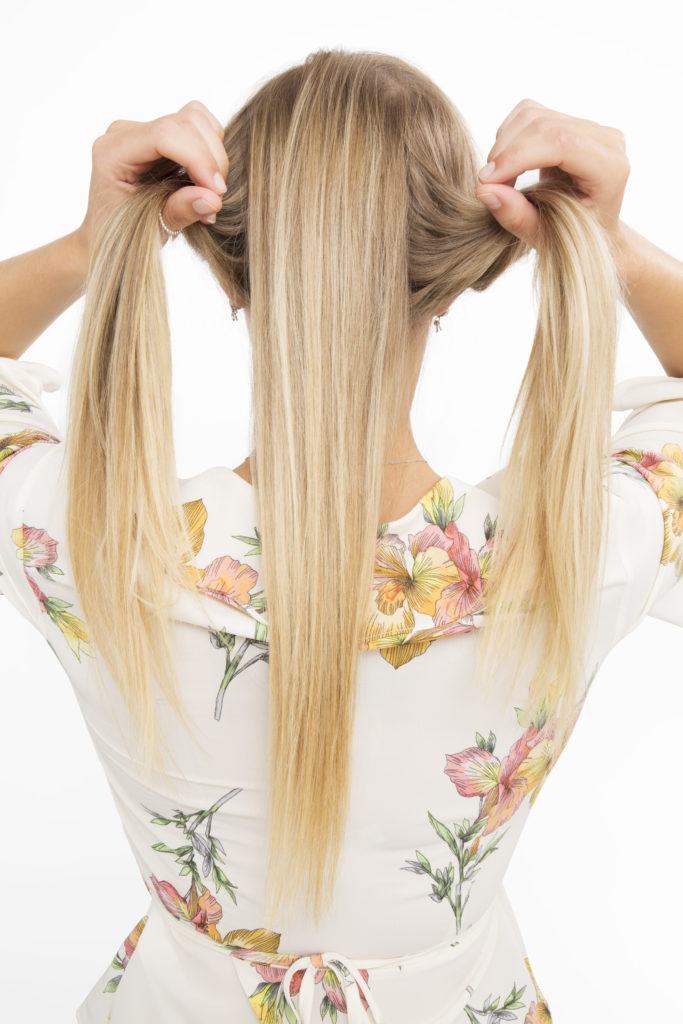
Divide and conquer.
Using your fingers, split the hair vertically into three sections. Make sure they are of even size and thickness so your banana bun looks full and voluminous.
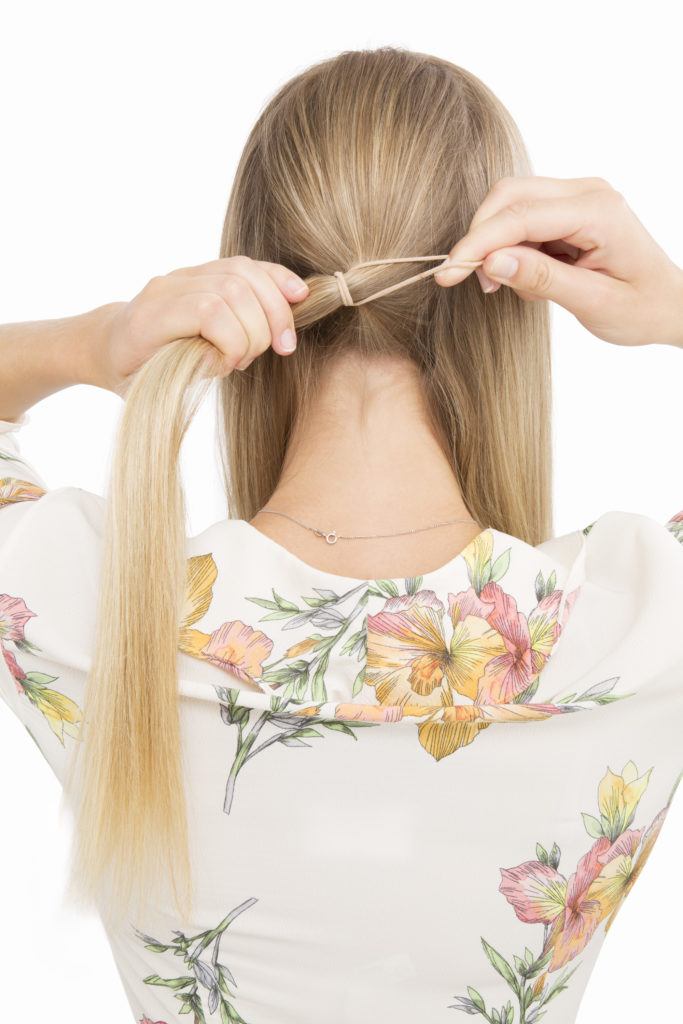
Create a low ponytail.
Form the basis of this style by tying the middle section of hair into a low ponytail at the base of the neck.
Use a clear hairband if possible to keep the finished look neater.
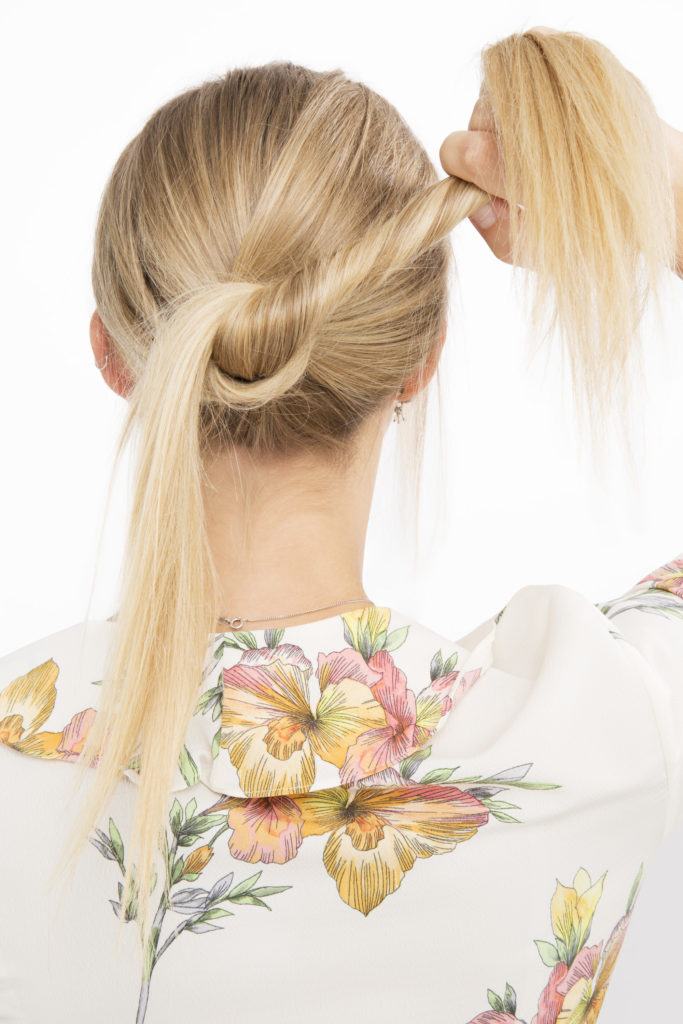
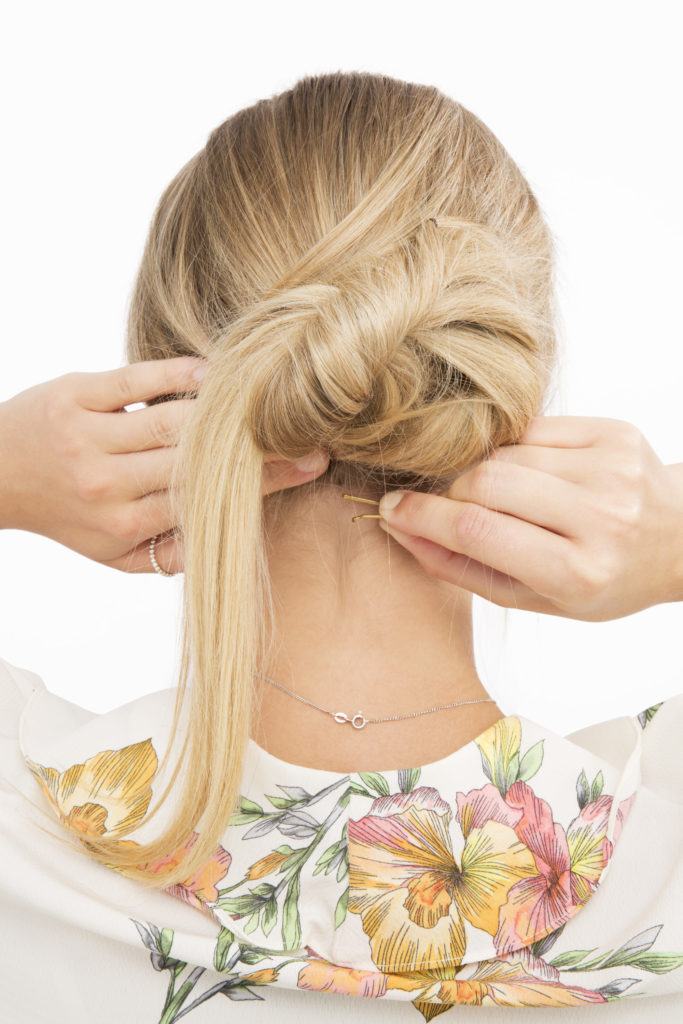
Do the twist.
Take the right section of loose hair and wrap it over and under the base of the middle ponytail to cover the hairband. Do this while twisting the section inwards.
Take the left section of hair and repeat the same step on the opposite side, leaving the end loose.
Create your bun.
Use a couple of pins to discreetly secure the upper part of the twist, forming the basis of your bun.
Next, flip the hair sticking out of the bun inwards towards the ‘back’ of the style and pin into place, loosely.
Make sure the bun is more cylindrical than spherical shaped and tug on any areas to loosen them if needed. This is the part where you get to determine just how messy (or not) you want your banana bun to be.
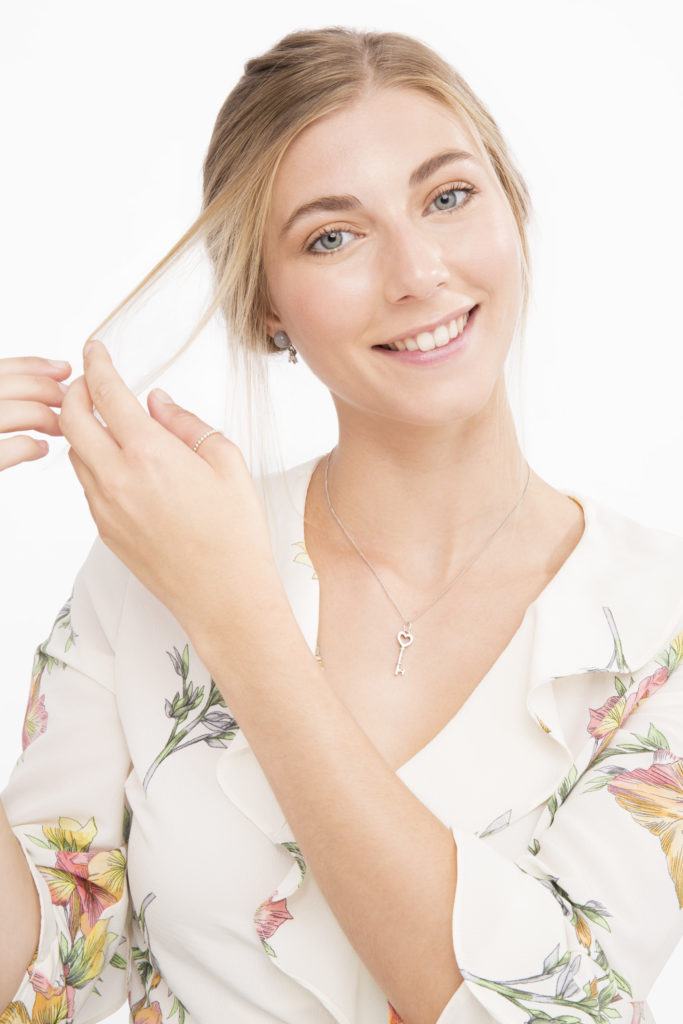
Frame your face.
Pull out a few tendrils from around the front of your face to give the look an additional dimension.
Leave them hanging loose or tuck them behind your ear for a more undone feel.
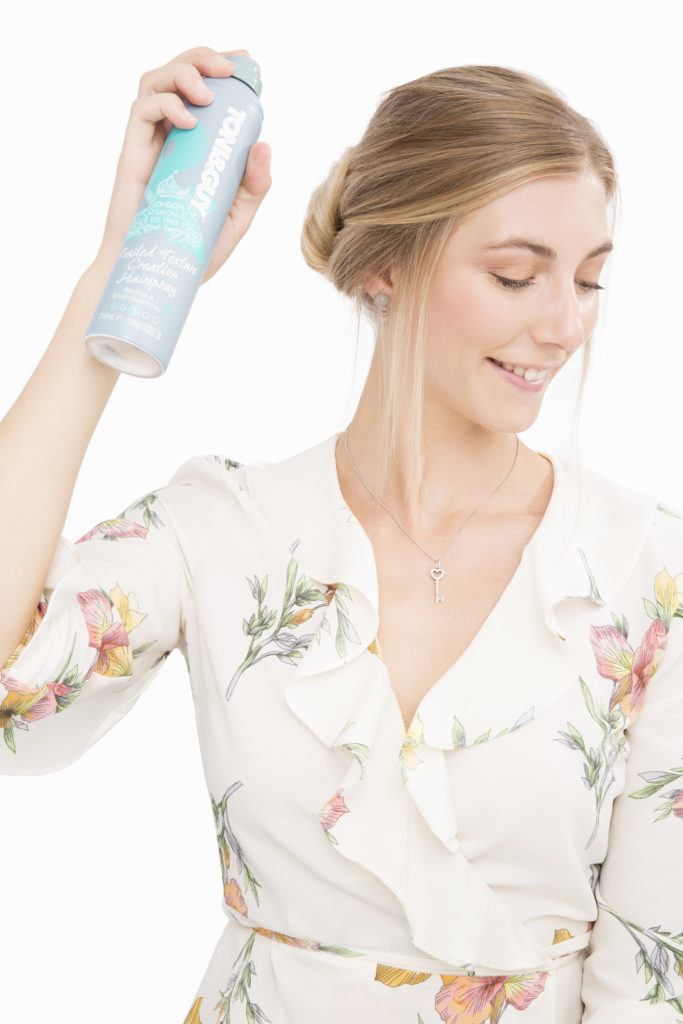
Secure the style in place.
You’re almost done! Keep all your hard work in place with a spritz of the TONI&GUY Tousled Texture Creation Hairspray.
It’s lightweight enough to keep the hair from looking too stiff, but also long-wearing, keeping your style budge-proof all day.
And that’s all there is to it, you’ve now mastered the banana bun. Bravo!
Banana bun inspiration
Looking for a little styling inspo? Here’s how to make the banana bun your own

Perfect a slept-in style
Pull out face-framing tendrils and loose ends to amp up the ‘woke up like this’ finish of your look. Better yet, before you start styling, clip up a large section of hair from around the front of your face so it doesn’t get tucked into the bun. Then, once you’ve finished styling, release the strands for a relaxed final touch. Credit: @glosscartel

Channel those boho bridal vibes
If you’re considering rocking a banana bun for your wedding, make sure you find a balance between a loose and luxe finish.
Do this by tucking and twisting the hair into a voluminous bun a few inches higher than the nape of your neck to create the perfect boho bride hairstyle. Bonus points if you add a few curly flyaways. Credit: @teryn_tucker

Turn up the volume
Add a little lift at your crown using a backcomb to create a mini beehive.
This 60’s update on the look is perfect if you’ve got fine or flat locks as it will give the illusion of more body. Plus, it will give the hair more grip and styling power, making sure your banana bun stays locked in place all day long. Credit: @edithandjune

Try a sleek, simple option
If you’ve got extra minutes to spare, keep your ‘do on the more formal side with less tendrils and more tucked-away ends.
A great option if you’ve already got naturally straight hair, this polished look is worth the extra primping time if you’re after a modern, minimalist aesthetic. Credit: @hairbrained_official

Keep your bun low and loose
Let your bun loosen and drop throughout the day so it sits at the nape of your neck.
Alternatively, start creating the style mid-way up the hair so it’s not tight at the base. This look is a classic model-off-duty go-to, perfect when teamed with day-two hair that has plenty of texture. Credit: @hagel_shop_de

Work a banana bun with your curly coif
The beauty of this style is that it works easily on all hair types and textures. For a curly coif, pull the hair into a very undone chignon and turn it on its side to create the shape of your banana bun.
Next, gently pick out random strands from around the bun and the front of your face where your curls can add extra impact. Credit: @kimb_erly

Add braids for instant fairytale vibes
Give the look a princess-worthy feel by weaving a few fishtail or three-strand plaits into the mix.
Use a crown or milkmaid braid to add interest at the front of the hairstyle or use three separate braids to form the banana bun for a romantic twist. Credit: @johnmokstylist

Business in the front, party in the back
Balance out the messy effect of an undone bun by keeping the hair looking sleek and sophisticated at the front.
Rather than pulling out random tendrils, style two equal, loose sections of hair at the front to frame your face. In the back, however, you can pull out any strands you prefer to add to the unkempt spirit of the style. Credit: @juliusmonroe

Twist it up and let your ends go loose
Want to give the look a more casual edge? Start with a basic banana bun and gently pull small sections out from the top and bottom of the ‘do.
Next, twist the sections and tuck them back into the bun, loosely and randomly as you go. Leave the ends free for extra texture. Credit: @monicadelarosa
You Will Need
