How to blow out natural hair like a pro
All you need is your hairdryer and some heat protectant to nail this perfect natural hair blow out.

You Will Need
TRESemmé Nourish Coconut Shampoo
Usually air dry your curls but want to learn how to blow out natural hair the right way, and with the least damage possible? A good blow out is a great way to stretch your hair and can give your updos, braids or twist outs a completely different look and feel.
Hit the play button up, above to watch our video tutorial, and once you’ve completed your blow out on natural hair, we have 2 styles you can easily create, as well.
Straightening natural hair: The blow out method
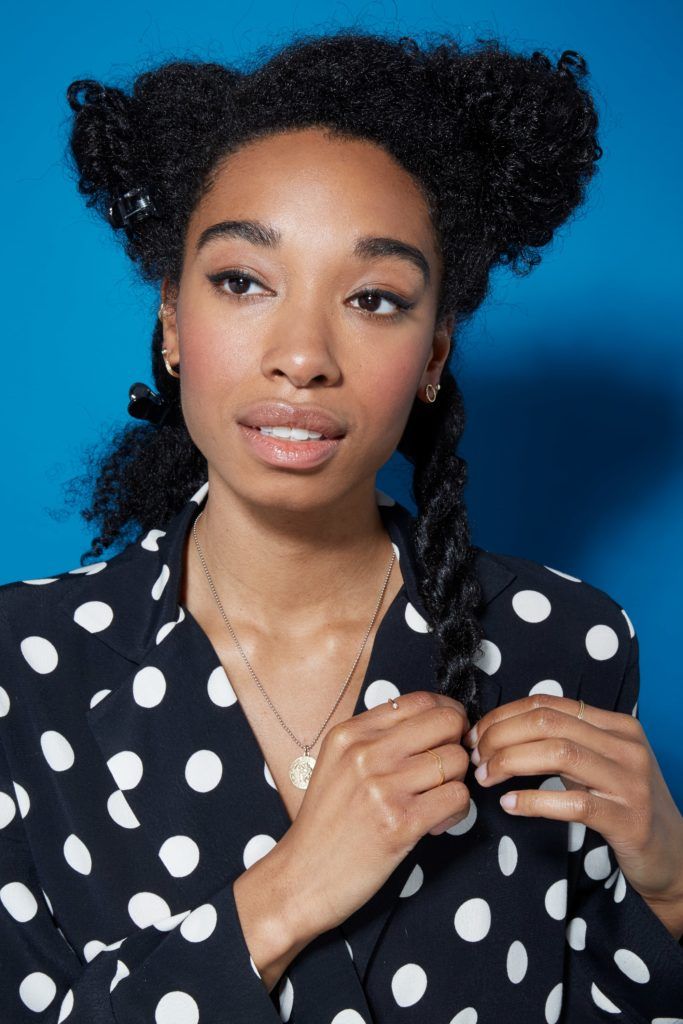
Section hair & twist.
First things first, start off by washing your hair with a nourishing shampoo and conditioner like the TRESemmé Botanique Nourish & Replenish Shampoo and Conditioner and use a T-shirt to soak up any excess water.
Use sectioning clips to divide your hair into 4, before twisting each section into simple 2-strand twists (also known as rope braids). This “pre-stretching” technique will help make blowing out your natural hair faster.
Once your twists are done, leave them in for a while to allow your hair to partially air dry.
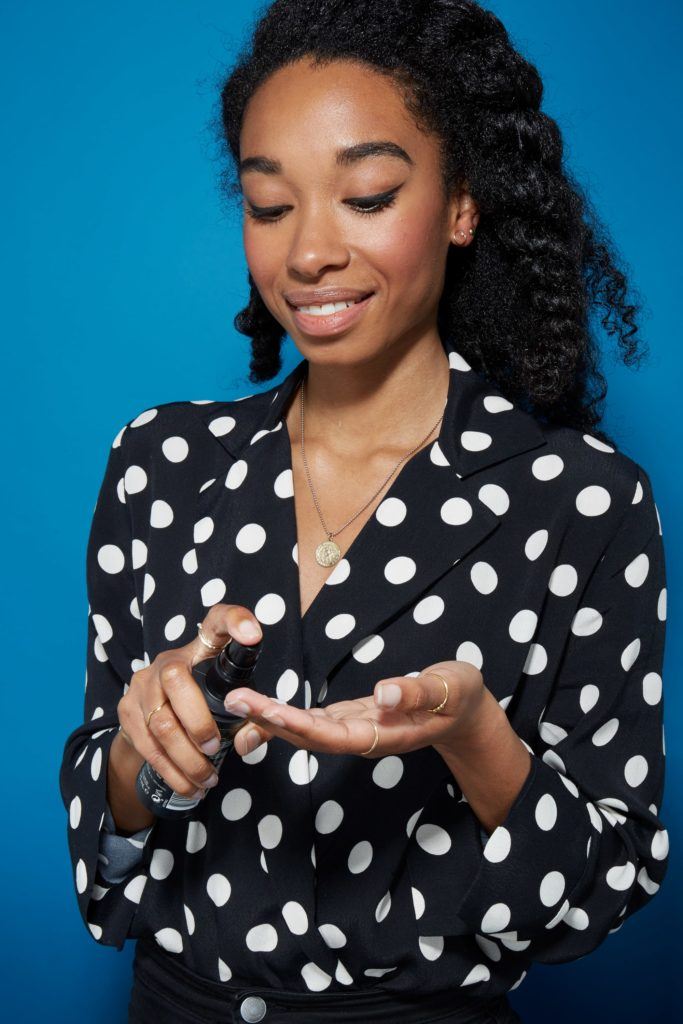
Apply heat protect.
Curly hair types are naturally more susceptible to both dryness and breakage, so heat protection is definitely a must.
Unravelling one of your twists at a time, apply a generous amount of heat protectant.
Editor’s tip: Cream heat protect formulas like the TRESemmé Biotin+ Repair 7 Primer Cream are good for thick, curly hair as they’re more nourishing than lighter sprays.
Dry hair.
With your pik attachment attached (the one that looks like a comb), use your hairdryer to comb through the first section of hair until dry.
Start at the ends of your hair, working your way up towards the roots – this will keep breakage to a minimum.

Twist the straightened section.
Once you’ve finished drying a section of hair, twist it back into a loose rope twist. This will ensure that it maintains its length, as well as getting it out of your way while you focus on the rest of your hair.
Repeat the drying and twisting steps for the remaining section of your hair, until all of your hair is dry.

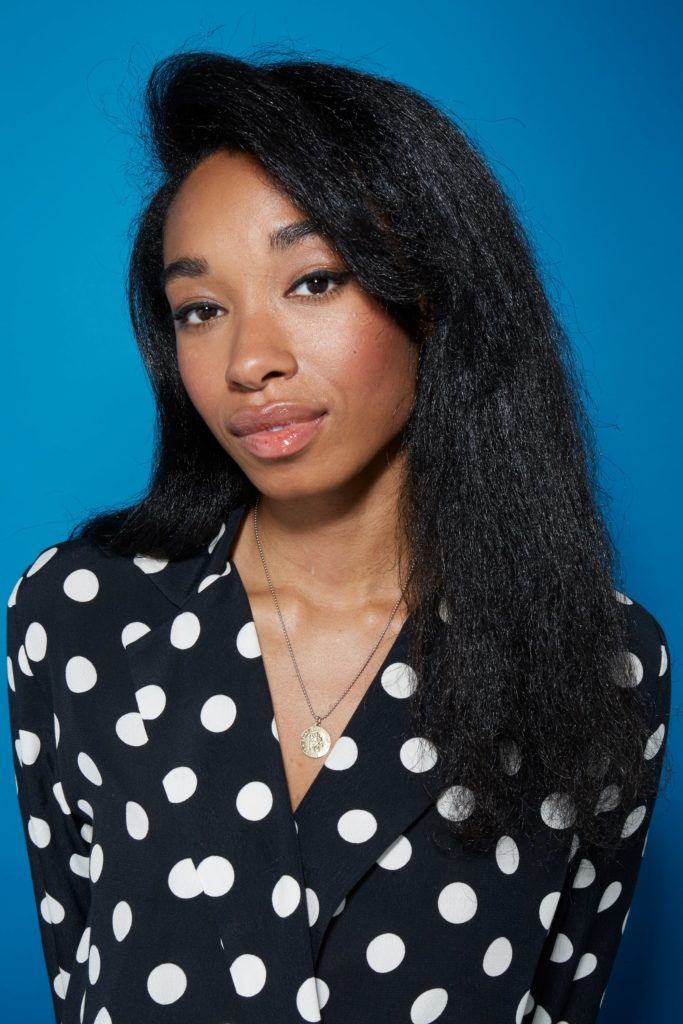
Final look.
The last step in your natural hair blow out is to take out your twists and admire your fresh blow out!
One of the most appealing things about being able to do a DIY blow out on natural hair is that it can easily last you until your next wash. Just make sure to take care of it by sleeping with your hair in a silk scarf and running through the lengths with straighteners if they start to go frizzy.
Now that you’re a pro at blowdrying, you’re going to need hairstyles that help you show it off, right? Keep that thought!
2 blow out natural hair styles to try
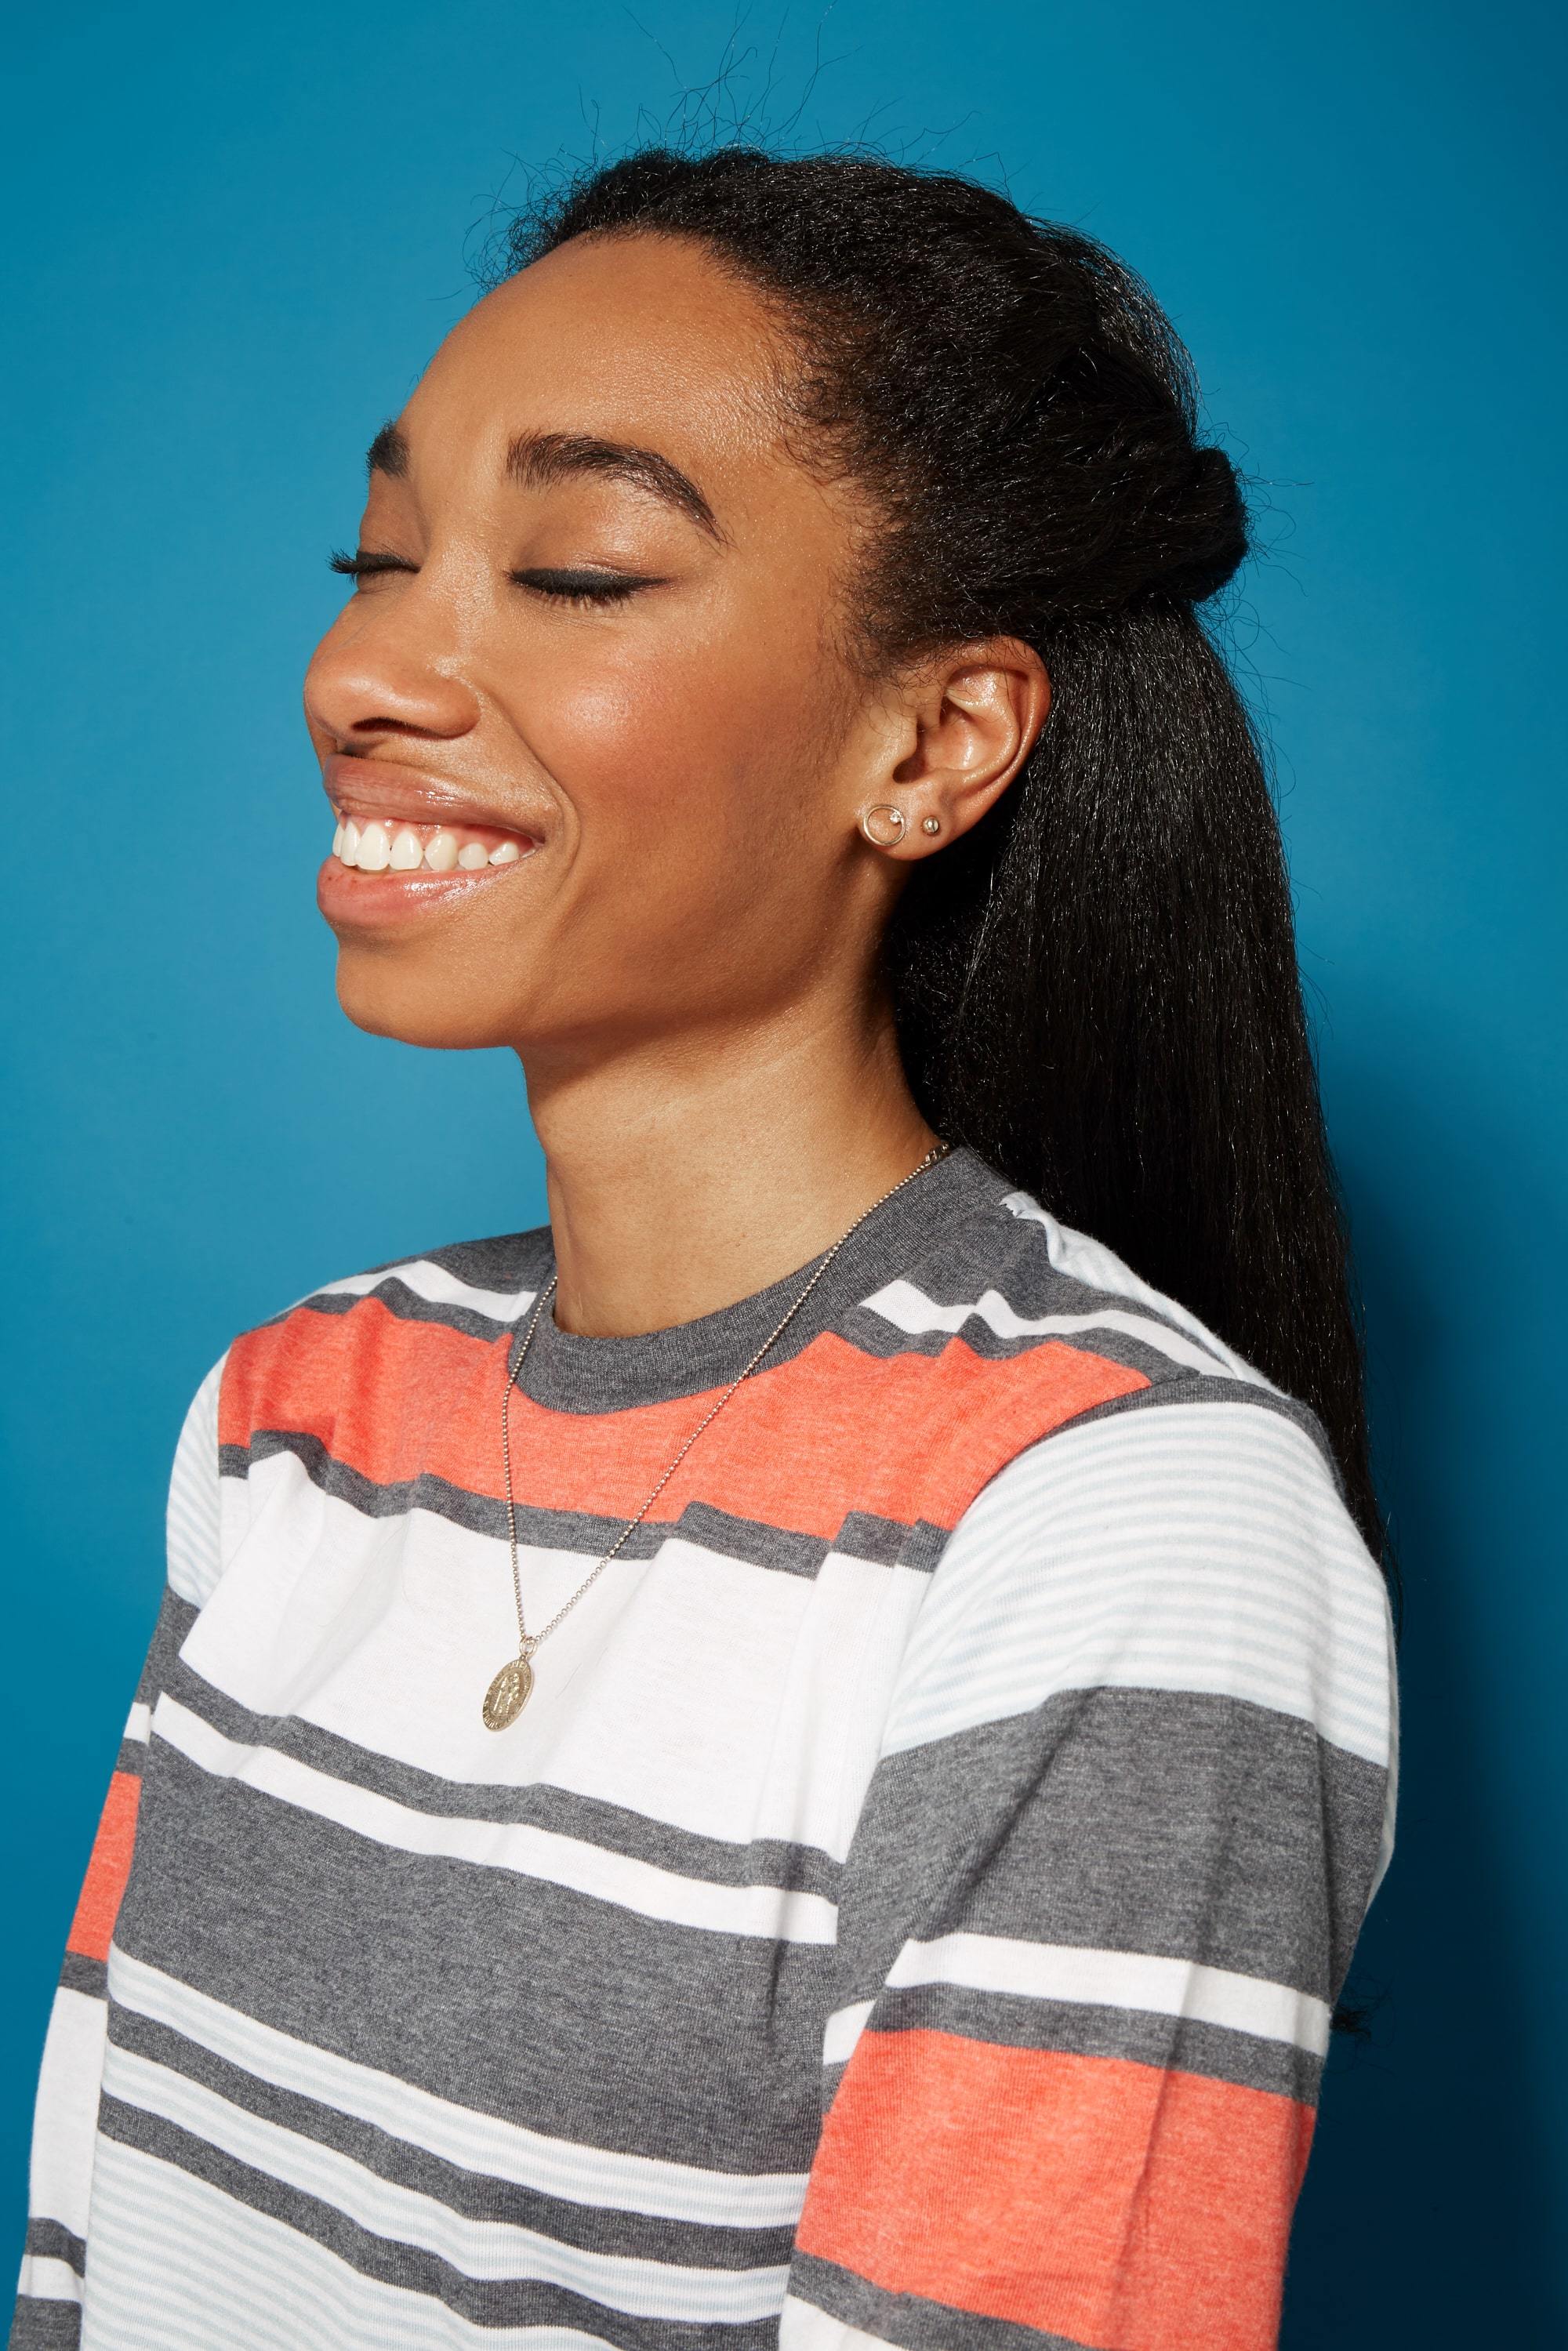
Half-up half-down
Aside from being one of the prettiest blow out natural hair styles, the half-up, half-down is also one of the easiest.
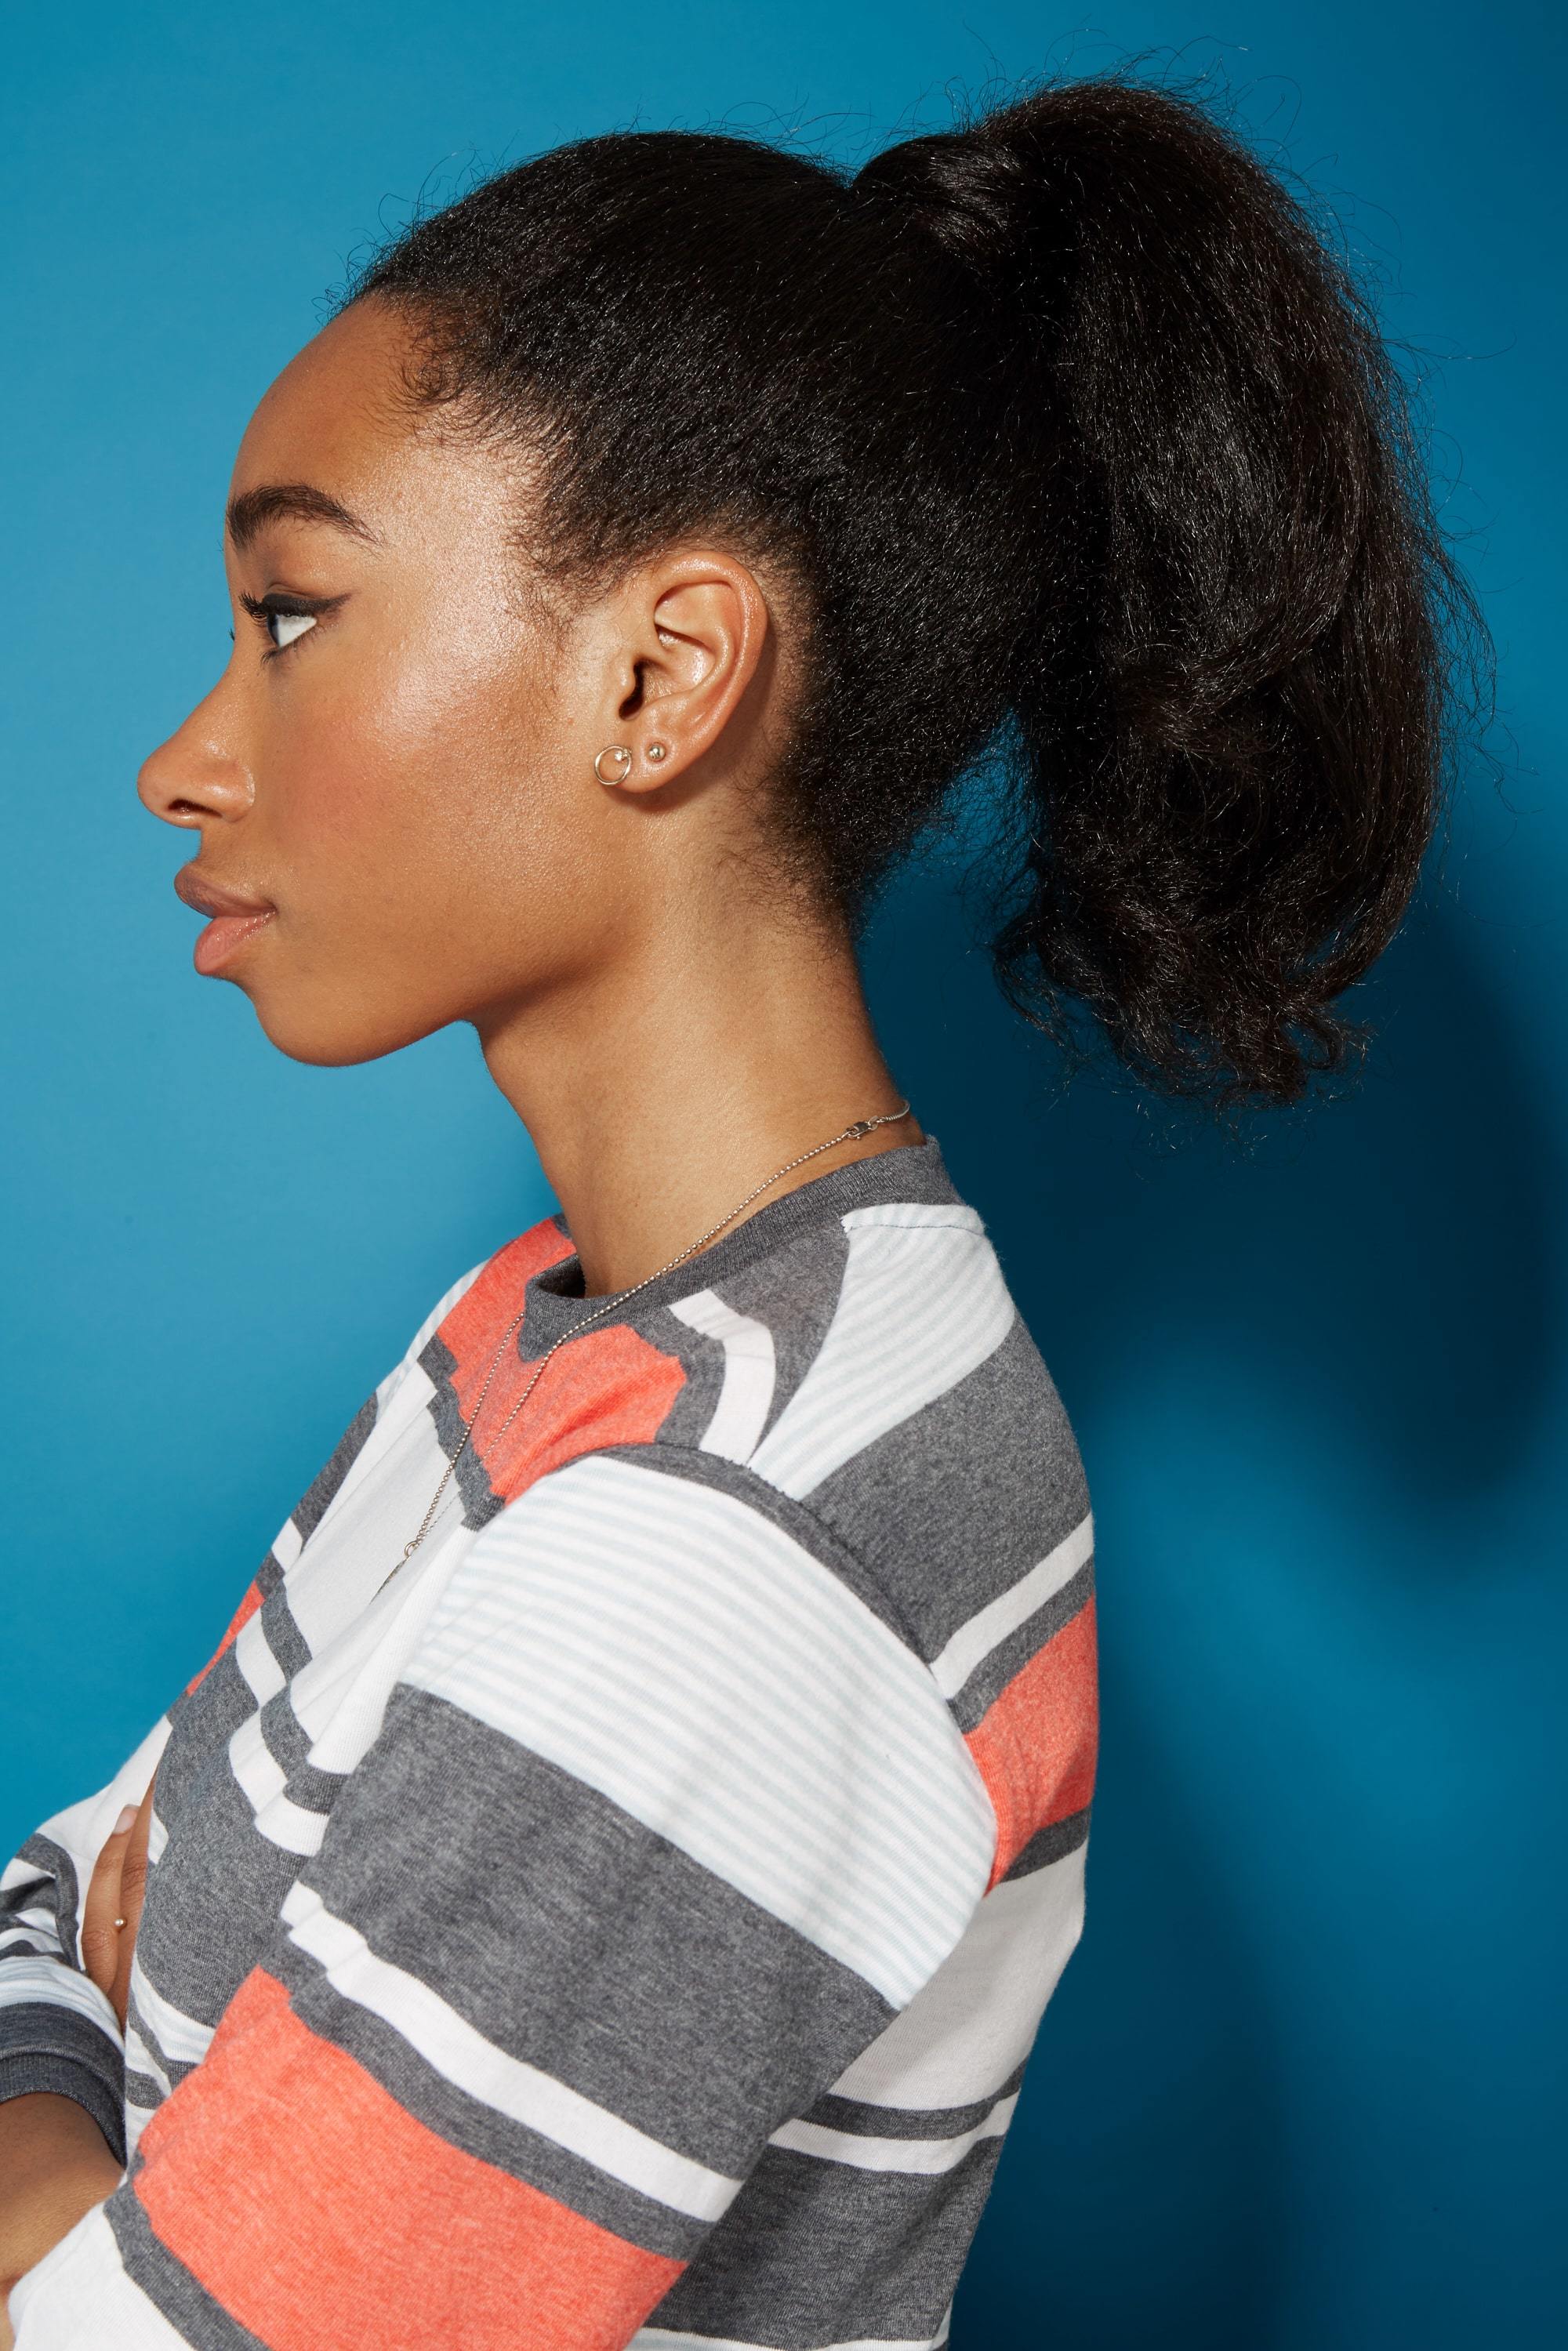
Classic pony
Brush all of your hair back into a classy pony and you’ve got yourself a winner. Use gel (ATH editor Amra raves about the VO5 Wet Look Styling Gel) to slick down any baby hairs or frizz for a neat look.
You Will Need